Older documentation
This documentation hasn't been updated in a while. Some information might no longer be valid.
There may be more up to date information in the new documentation section.
Using Matrix to make Chatbot software from the 1960s available in 2018
In this article, we'll use Matrix, a Raspberry Pi and JavaScript to bring back chatbot software from the 1960s: ELIZA.
What is ELIZA?
ELIZA is a computer program written between 1964 and 1966, which imitates the conversation style of a psychotherapist of the era. It behaves like what we would now call a chatbot, but there was no such concept at the time - in fact there were only the first glimpses of text chat as we would recognise it today.
The original program was designed and at the MIT Artificial Intelligence Laboratory by Joseph Weizenbaum. ELIZA was first implemented on the IBM 7094 and written in MAD-SLIP, where MAD was a popular programming system for IBM mainframes of the time, and SLIP was a list-processing extension of Weizenbaum's own creation.
Seeing the results, in which users were highly willing to interact with ELIZA, Weizenbaum was disturbed by just how effective the apparently simple bot was. He was motivated to write a book explaining the way people tend to anthropomorphise technology by applying their own experiences to their usage.
2005, online JavaScript version appeared
In 2005, Norbert Landsteiner created a JavaScript program which he made available as elizabot.js, and made ELIZA available online through a web interface: https://www.masswerk.at/elizabot/.
Now we'll make this available on Matrix.
Making the bot
Using the library
For this project I have chosen to use an adaptation of the elizabot.js library: eliza-as-promised, which exposes the bot as a promise-based node.js module. This module makes working with ELIZA very simple. First we create an instance of the bot object:
const Eliza = require('eliza-as-promised');
var eliza = new Eliza();
We can get an initial greeting as follows:
console.log(eliza.getInitial());
The getResponse() function takes a string from the user, and returns a
Promise with a response, with either a reply or final field. If the
response is a reply, we can give another string to get a response, if the
response is final, the session is over. For example:
eliza.getResponse("Help me Eliza!")
.then((response) => {
    if (response.reply) {
        console.log(response.reply);
    }
    if (response.final) {
        console.log(response.final);
        process.exit(0);
    }
});
Using Matrix to make a modern Chatbot
Matrix is an open standard for real-time communication over IP. It is often used to enable Instant Messaging. Matrix is not just Open Source, it is also designed to be interoperable, which makes it easy to take existing projects and integrate them.
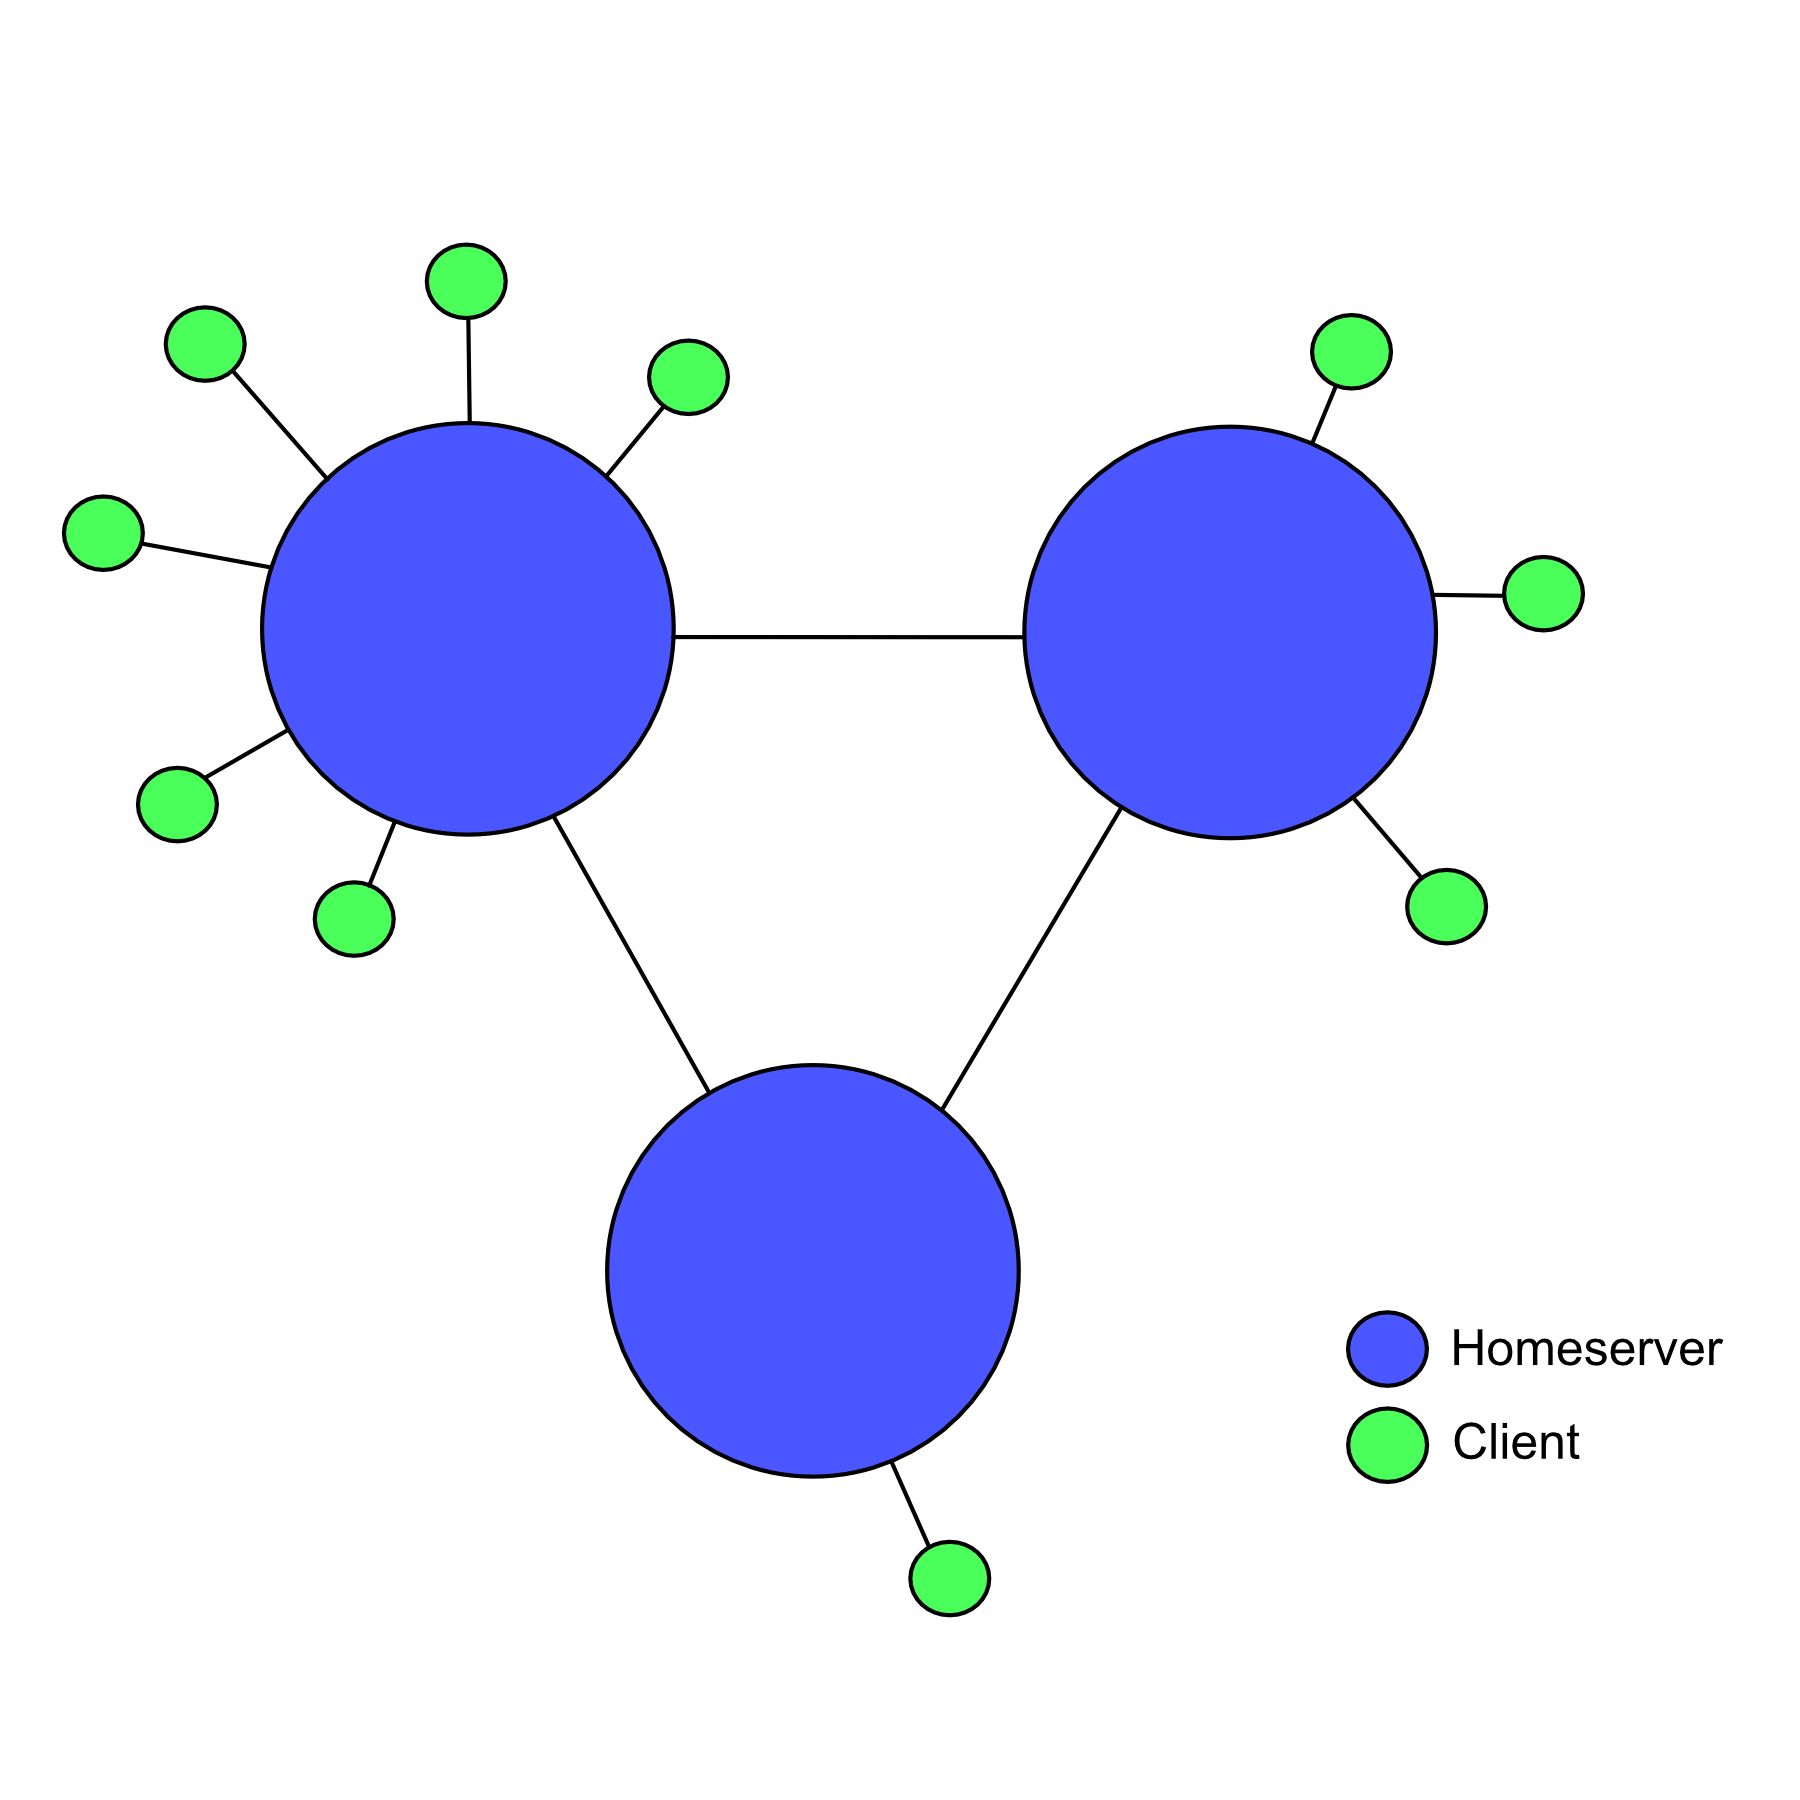
Matrix provides a decentralised architecture, in which servers connect to one another, but as a user your client connects to a single homeserver, as described in the diagram below.
However, for this project we only need to look at the Client-Server API, which is the way in which clients and servers communicate with one another. To make it easier to connect the ELIZA library to Matrix, I chose to use a JavaScript library designed to access the Matrix Client-Server API: matrix-bot-sdk from TravisR.
Code Walkthrough
First, we'll need a new instance of the Bot SDK, which we can obtain from NPM as follows:
npm install matrix-bot-sdk
Then, in our application code, we will instantiate and start a new client. Note that you can obtain an access token for the bot using Element.
var access_token = "...";
const MatrixClient = require("matrix-bot-sdk").MatrixClient;
const AutojoinRoomsMixin = require("matrix-bot-sdk").AutojoinRoomsMixin;
const client = new MatrixClient("https://matrix.org", access_token);
AutojoinRoomsMixin.setupOnClient(client);
client.start().then(() => console.log("Client started!"));
I also added the AutojoinRoomsMixin at this point, which instructs the bot to accept any room invitation it receives.
Knowing that we can use
eliza-as-promised to create
new instances of Eliza, let's start by doing so whenever the bot joins a new
room.
var elizas = {};
client.on("room.join", (roomId) => {
    elizas[roomId] = {
        eliza: new Eliza(),
        last: (new Date()).getTime()
    }
    client.sendMessage(roomId, {
        "msgtype": "m.notice",
        "body": elizas[roomId].eliza.getInitial()
    });
});
What's happening here? First we make a new object to contain a mapping of room
IDs to Eliza objects. When we get a room join event, we assign a new Eliza
object and the current time to the room ID. Next, we use the newly created
object to send the initial greeting to the room, using the same call to
getInitial() we used earlier.
Next, we'll accept messages from the user and provide a response:
client.on("room.message", async function (roomId, event)  {
    if (event["sender"] === await client.getUserId()) return;
    if (! event.content || ! event.content.body) return;

    elizas[roomId].eliza.getResponse(event.content.body)
        .then((response) => {
            var responseText = '';
            if (response.reply) { responseText = response.reply; }
            if (response.final) { responseText = response.final; }

            client.sendMessage(roomId, {
                "msgtype": "m.notice",
                "body": responseText,
                "responds": {
                    "sender": event.sender,
                    "message": event.content.body
                }
            }).then((eventId) => {
                if (response.final) {
                    client.leaveRoom(roomId);
                }
            });
    });
});
It looks like a lot of code, but in fact we can break down what is happening here quite simply.
- When an event is received in a room, we react to the event with a function
that takes the
roomIdandeventreceived as parameters. - If the user is our own, or the event does not contain a body, we must return.
- We use the
roomIdto access the specificElizainstance, as previously created. - As above, we call
getResponse()on the Eliza object, and we pass the message string we just received. - We handle the promise returned by
getResponse()by extracting the response string intoresponseText, and use that string as a message to send back into the room as a response. - Finally, if the response text we took from our Eliza is "final", we have Eliza leave the room. (The bot can always be re-invited!)
That all the code needed to get a working version of the bot running. If you
look at https://github.com/benparsons/elizabot, you can find a simple
implementation as described here in simple.js, and a more robust
implementation in index.js.
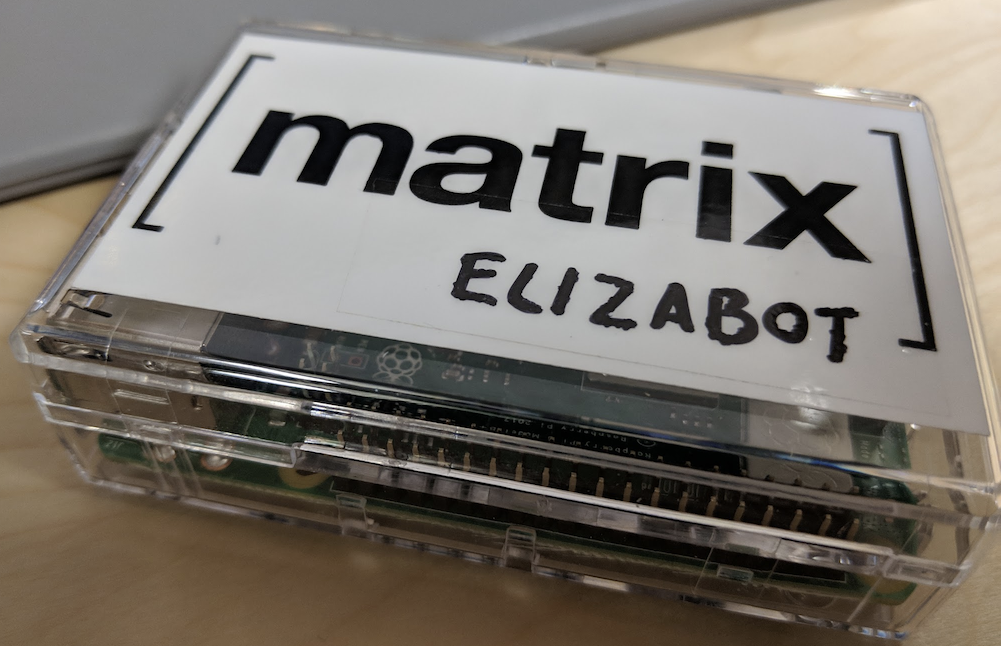
Deploying on a Raspberry Pi
To run the bot, we simply run node index.js. However, part of this project is
to get the bot running on a Raspberry Pi - and for convenience the way to do
this is to have it run as soon as the device boots. Luckily, there are standard
ways of achieving this, one of which is to use systemd. Open a shell on your
Pi (possibly using a
graphical desktop if one is installed, or using ssh) and enter this command to
access the correct directory:
cd /etc/systemd/system
Now, we'll use vim to create a file describing the service we want to create:
vim elizabot.service
Finally, enter the following text (you may need to change paths depending on where your script is located):
[Unit]
Description=Elizabot
After=multi-user.target

[Service]
Type=idle
ExecStart=/usr/bin/node /home/pi/elizabot/index.js > /home/pi/elizabot/log.log 2>&1

[Install]
WantedBy=multi-user.target
... and run the following to enable the service:
sudo systemctl enable elizabot.service
Now, whenever you plug in your Pi, your bot will be launched and ready to go. Of course, it is quite possible to run this software on a server, but having a separate box makes it more fun. The physicality of a Raspberry Pi means it gets more attention and understanding from people who see it.
To learn more about Matrix development, take a look at the Matrix Guides page, and join us in the #matrix-dev:matrix.org room!