This Week in Matrix 2018-07-20
2018-07-20 — This Week in Matrix — Ben Parsons🔗Spec Updates!
First of all: we've just released the first draft of the proposal for our next generation State Resolution algorithm as MSC1442 (State Resolution: Reloaded). This is the result of a massive amount of work from Erik - if you are at all interested in the problems that state resets have plagued us with, then you will want to read the proposal and please comment on it!
The next step on State Resolution: Reloaded (once approved) is to be able to actually roll it out - and to this end, richvdh has proposed MSC1425 (Room Versioning proposal). This was published at the beginning of the week but we haven't had any feedback yet - again, please read & give feedback as the intention is to start working on this as soon as possible! Matthew's also been updating the Lazy Loading proposal (MSC1227).
Meanwhile, the Matrix Spec is now awash with activity, lots of work from TravisR, Cadair and others to accelerate progress. Take a look at the proposals list to stay up to date, or straight to the matrix-doc repo and #matrix-spec:matrix.org room to get the raw activity.
Finally, discussions relating to the spec proposal process itself have attracted attention: MSC1426 and MSC1421, and we're already trialling the new process (using Github PRs rather than Google Docs) in MSC1442 (State Resolution: Reloaded) already.
🔗nheko 0.5.x
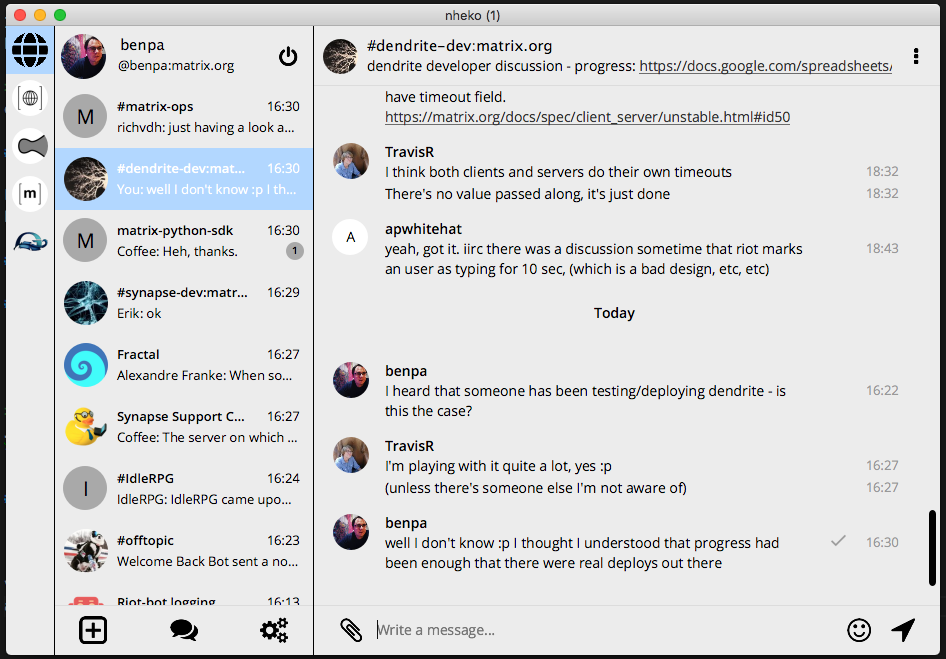
nheko 0.5.1 is out, and it's great! Get a version for your platform from bintray.com. I've been using it for the last week or so (on macOS) and found it very stable and usable. mujx commented that "highlights were encryption support & desktop notifications on all platforms", but you can get much more thorough notes from the release notes.
🔗Plasma
It's been several weeks since we mentioned Plasma, but work on the C2S parts of the spec implementation have been happening quietly behind the scenes. Project lead Nico said recently:
I've updated the CI test server with the latest snapshot version of plasma.
createRoomandinviteC2S endpoints are fully implemented and should work as expected.
You can find the full list of implemented endpoints in the readme, and also read the architecture overview.
🔗kitsune, live on stage
kitsune presented an introduction to Matrix (for a technical audience) at the Tokyo Linux Users Group - you'll need to skip to 1h41m16s into the video.
🔗GTAD pulls in description and summary fields from the API
kitsune continues working on GTAD, and this week has started automatically including docs in libQMatrixClient:
GTAD is now aware of description and summary fields in API descriptions so you can use them with Javadoc/Doxygen. As a result, libQMatrixClient master branch now enjoys doc-comments throughout its CS API layer - the rest of the library builds in envy.
🔗SimpleMatrix
MTRNord introduced us to SimpleMatrix:
SimpleMatrix is my approach on making an Android App that is more easy to use than the official one in Terms of UX and UI. Planned is also a Android Wear App within this App for mostly Notifications.
SimpleMatrix is planning to use matrix-java-sdk, but for now is a visual mockup, it doesn't currently connect to Matrix.
Room: #SimpleMatrix:matrix.ffslfl.net Git: https://git.nordgedanken.de/Nordgedanken/SimpleMatrix

🔗Tales of Half-Shot and his many Bridges
🔗Arrival of the Discord DMs
After lots of begging, frustration and eventually an offer of a free lunch (thanks Anoa): I give you Discord DMs.
This first cut bridges over existing regular and group DMs to Matrix. In the future we will also allow you to create DMs from Matrix so that you can contact users without even logging into Discord. With thanks to the #discord:half-shot.uk community for helping shape this feature!Currently this is in PR form but is very likely to make it into the 0.3 release of matrix-appservice-discord.
🔗Half-Shot fixes the Foonetic IRC bridge
For those who (want to) use Foonetic IRC channels, Half-Shot is here for you! Previously this bridge had been down due to invalid certificates, but this is now resolved.
🔗Synapse
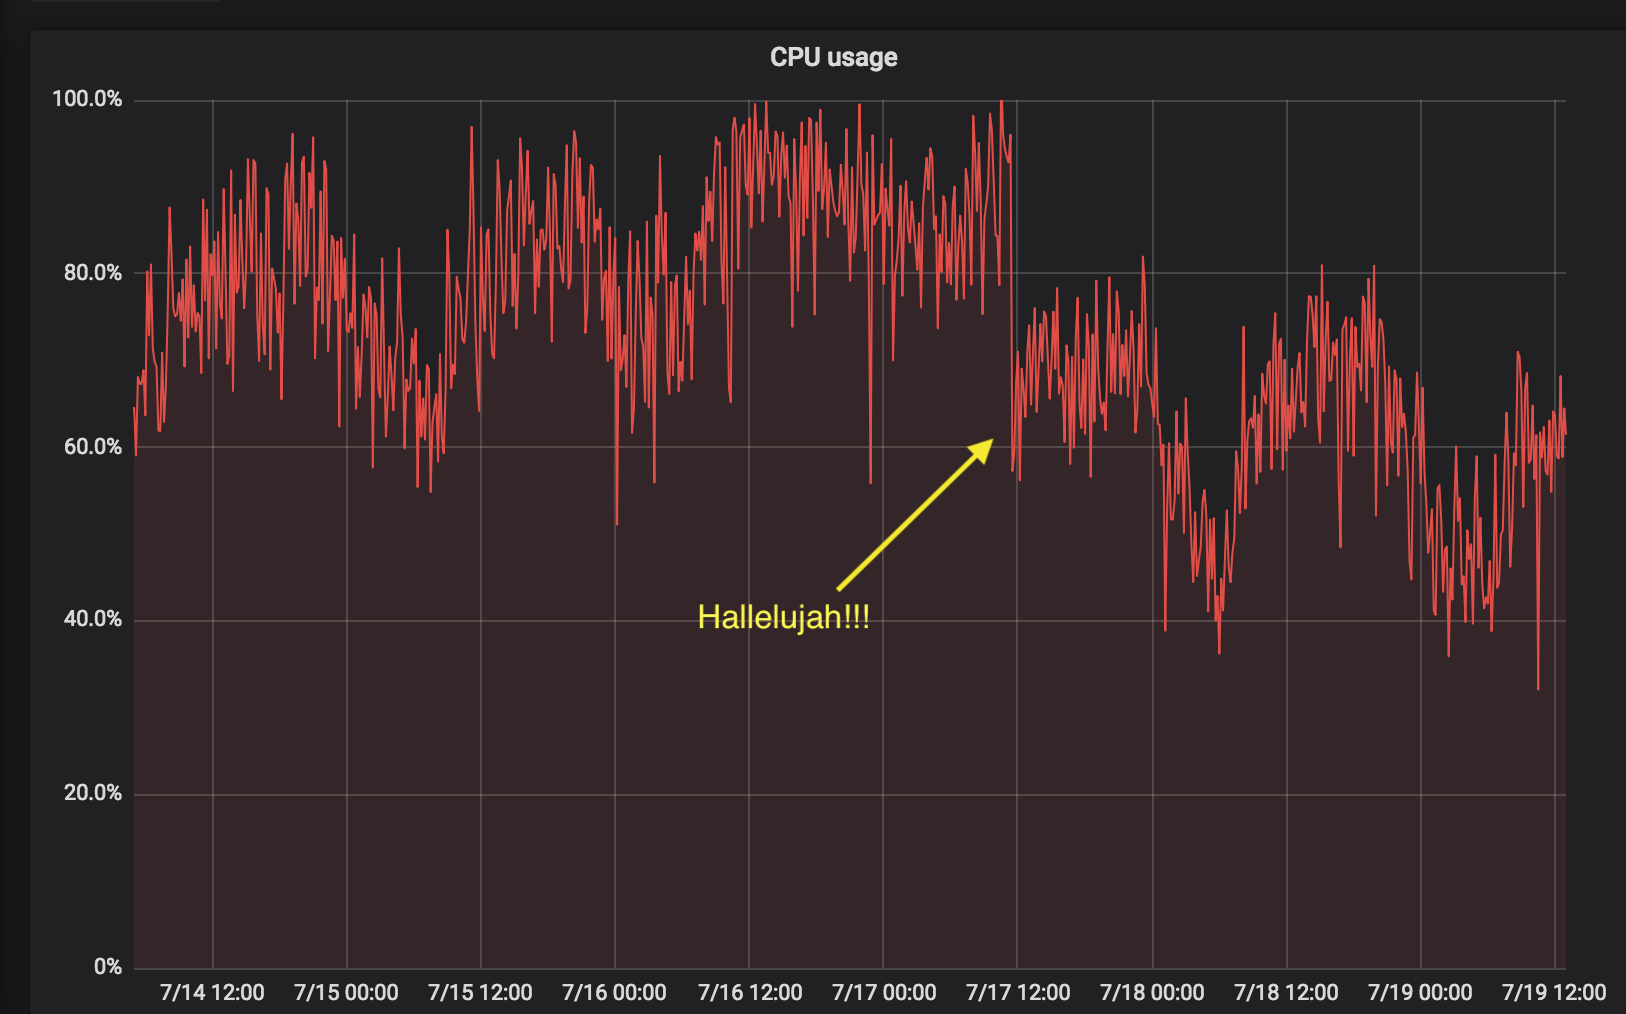
Synapse 0.33 landed on Thursday, boasting 2x speed-ups for /sync and (briefly) meaning that the matrix.org homeserver felt impressively snappy and fast! Ironically traffic levels promptly grew again such that the synapse master process is now the bottleneck once more, but between incremental state res, python 3 and upcoming room-sharding work we should see the performance fixes continuing to come! Meanwhile, lots of PRs in the queue for Synapse 0.34 - including Lazy Loading support as per (MSC1227), and a whole new set of stats functionality for tracking per-room and per-user stats.
🔗Riot
Lots of activity in the build up to Riot/Web 0.16 - merging the new Slate rich text editor to /develop (try it now!), upgrading Jitsi and turning it on by default (at last!! - again, try it on /develop, although you'll have to enable it in Labs). We'd be particularly interested in how Jitsi is behaving, as so far for us it's been unrecognisably improved over the previous deployment.
Meanwhile, lots of work on Lazy Loading members on Riot/Web and Riot/iOS, and lots of stability perf work in general across mobile.
🔗State Resolution Special... Matrix Live!
And finally, all you could ever want to hear about the new State Resolution algorithm on a special edition of Matrix Live, starring Erik & Matthew!